Realised, as I begin to write this, that my recipe blogs of late have seemed to accidentally follow a theme... Nuts! I promise I shall attempt to branch into something different for the next one. But for now, it is time for a journey into peanut butter goodness!
One of my favourite go to treats is flapjack and good flapjack really is hard to beat. One of the best things is its ease and simplicity to make, which is perhaps why my key memory of childhood baking centres around flapjack. My real love for baking did not seem to develop until my late teens, which still feels like a scarily long time ago! Childhood baking comprised mainly of flicking through a very old and worn copy of Delia Smith's Complete Cookery Course, to find one of two recipes. Crumble topping or flapjack! Flapjack was the first recipe I made all by myself and the very first recipe committed to memory. Nowadays my head is swimming with all sorts of cake recipes and ingredient quantities that there is not much room for anything else!
I have made this flapjack extra special and deliciously decadent, indulging both your sweet and savoury teeth! Peanut butter and jelly, or as we in the UK call it, jam, is a flavour combination incredibly close to my heart and stomach!! This flapjack is sweet, sticky, salty, crunchy, chewy and more... enjoy!
Ingredients...
- 250g salted butter
- 60g crunchy peanut butter
- 140g caster sugar
- 140g golden syrup
- 400g porridge oats
- 80g raspberries, fresh or frozen
- 5tsp raspberry jam
Method...
- Pre heat your oven to 180 degrees or 160 fan.
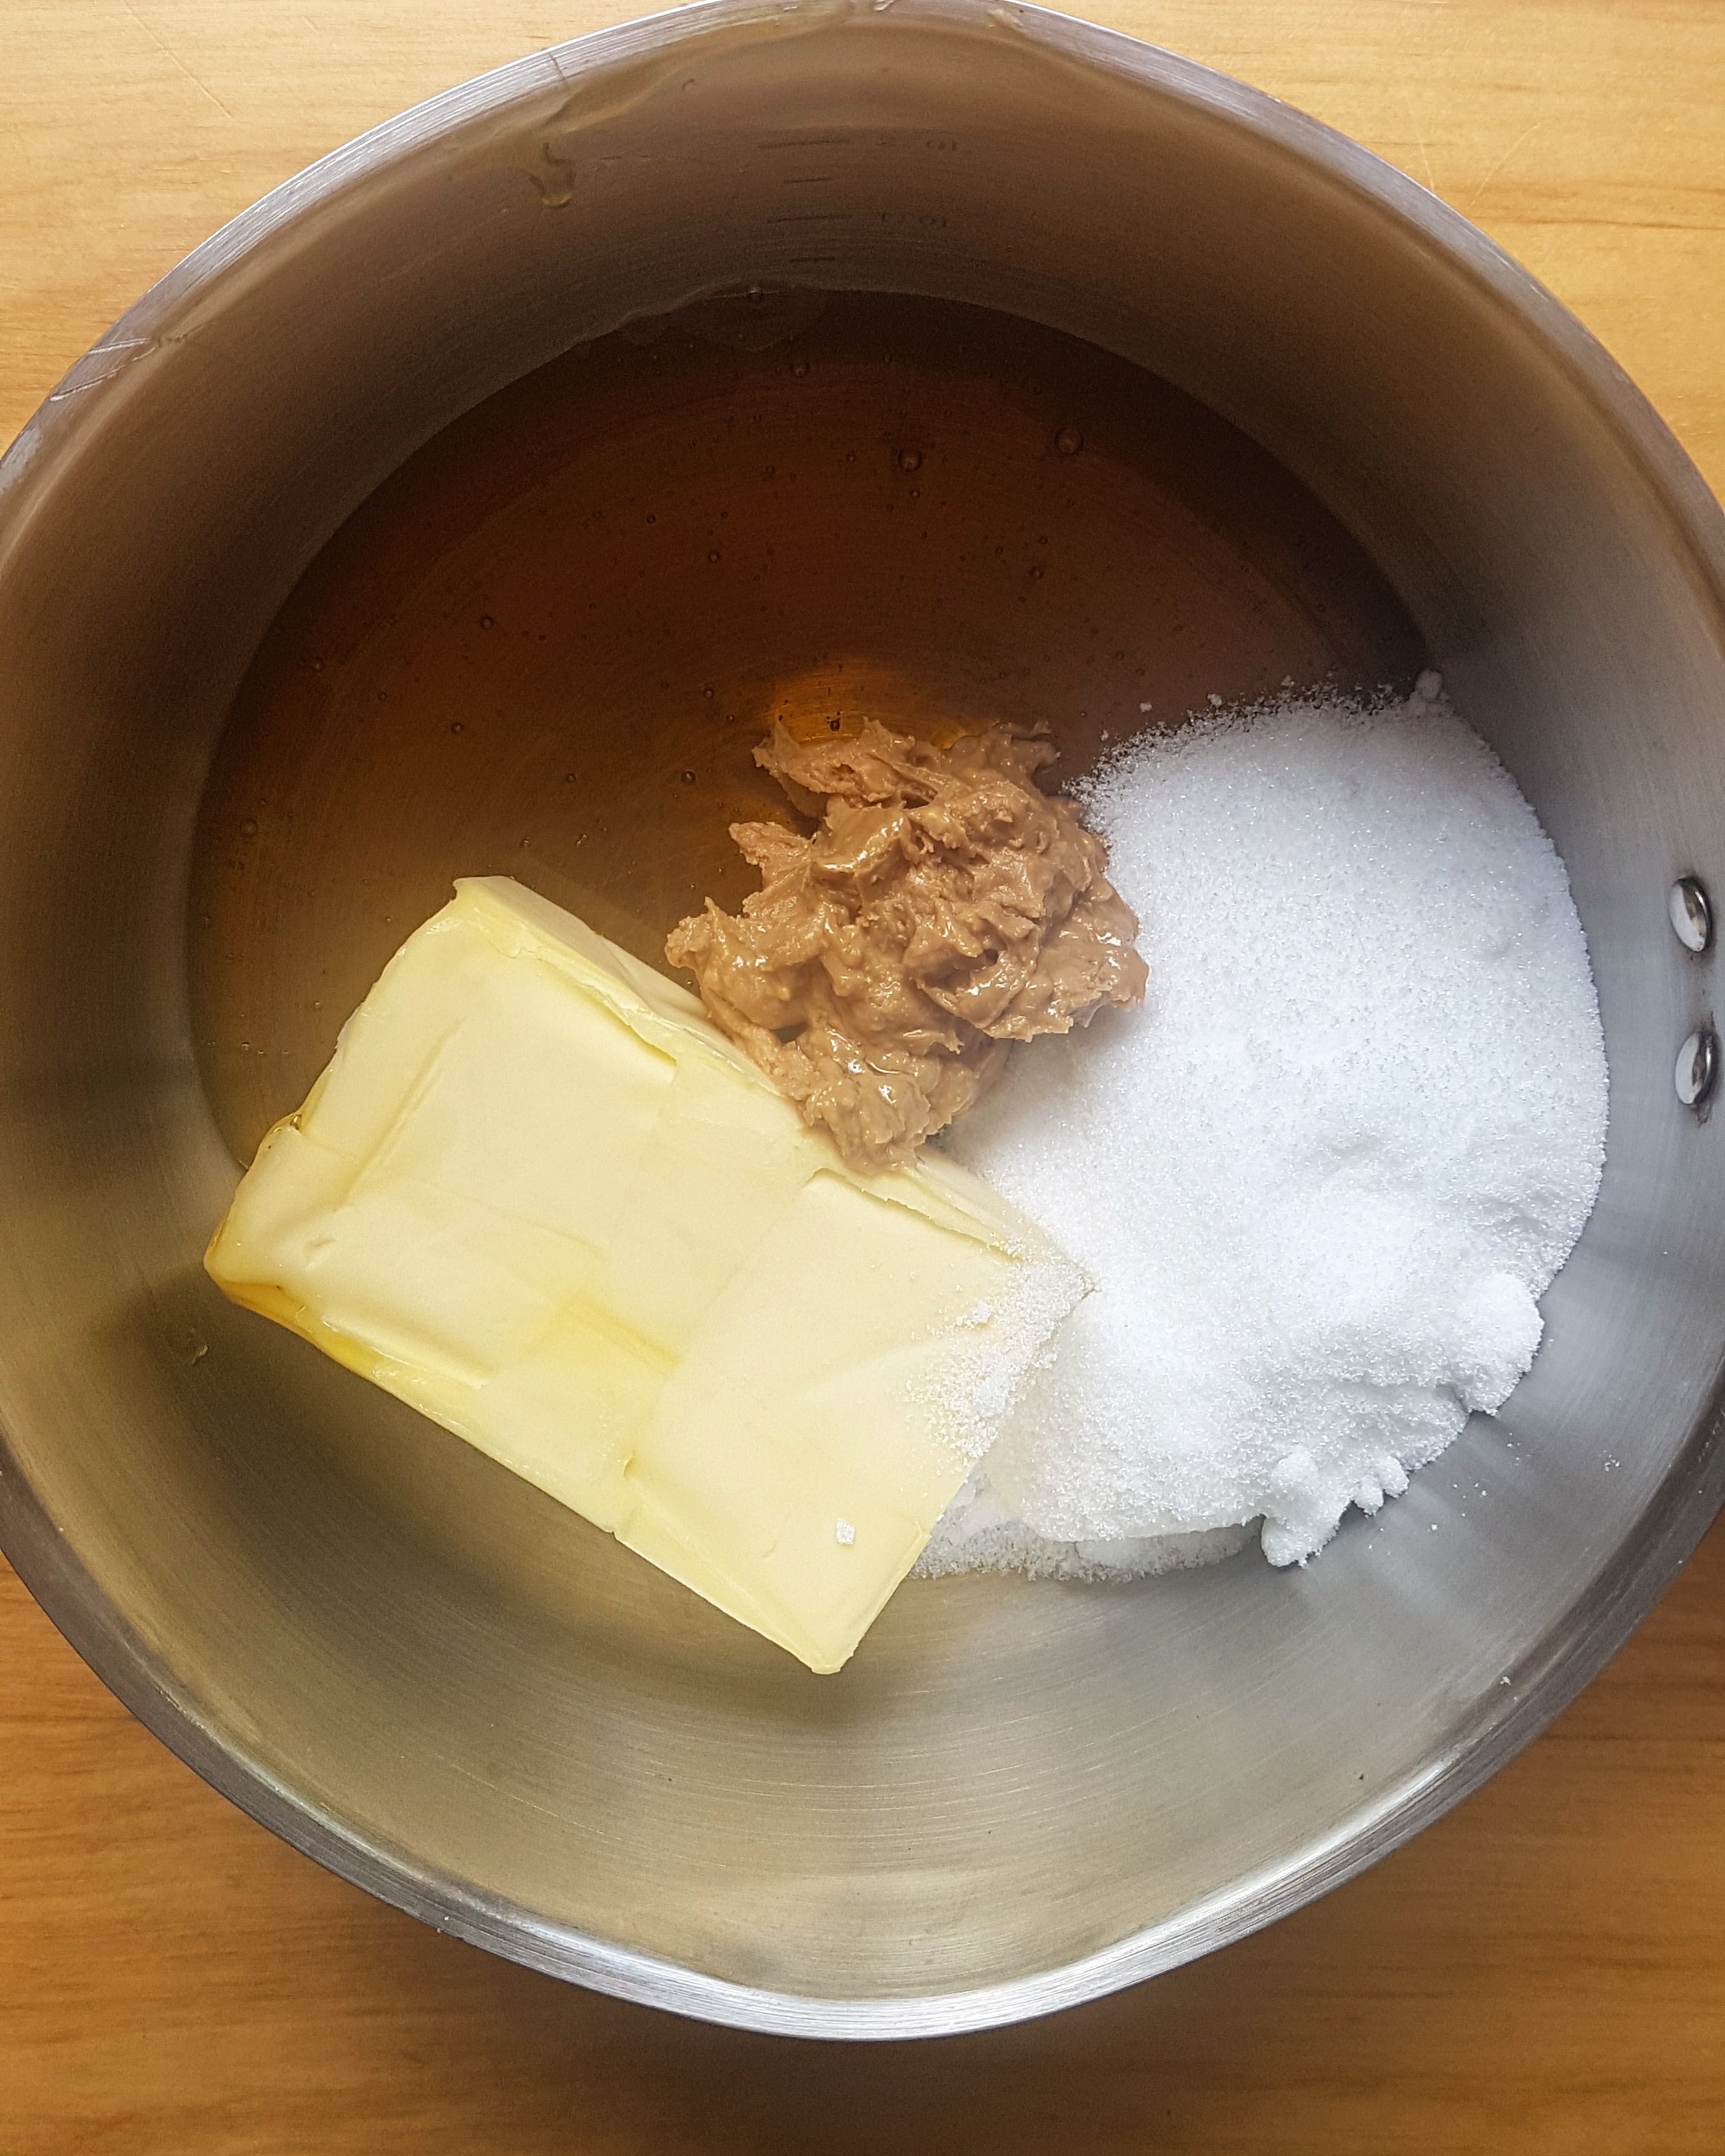
- Pop the butter, peanut butter, sugar and syrup in a saucepan over a low heat, stirring occasionally, until it has all melted together.
- Stir through the oats and then pour into a lined brownie tin.
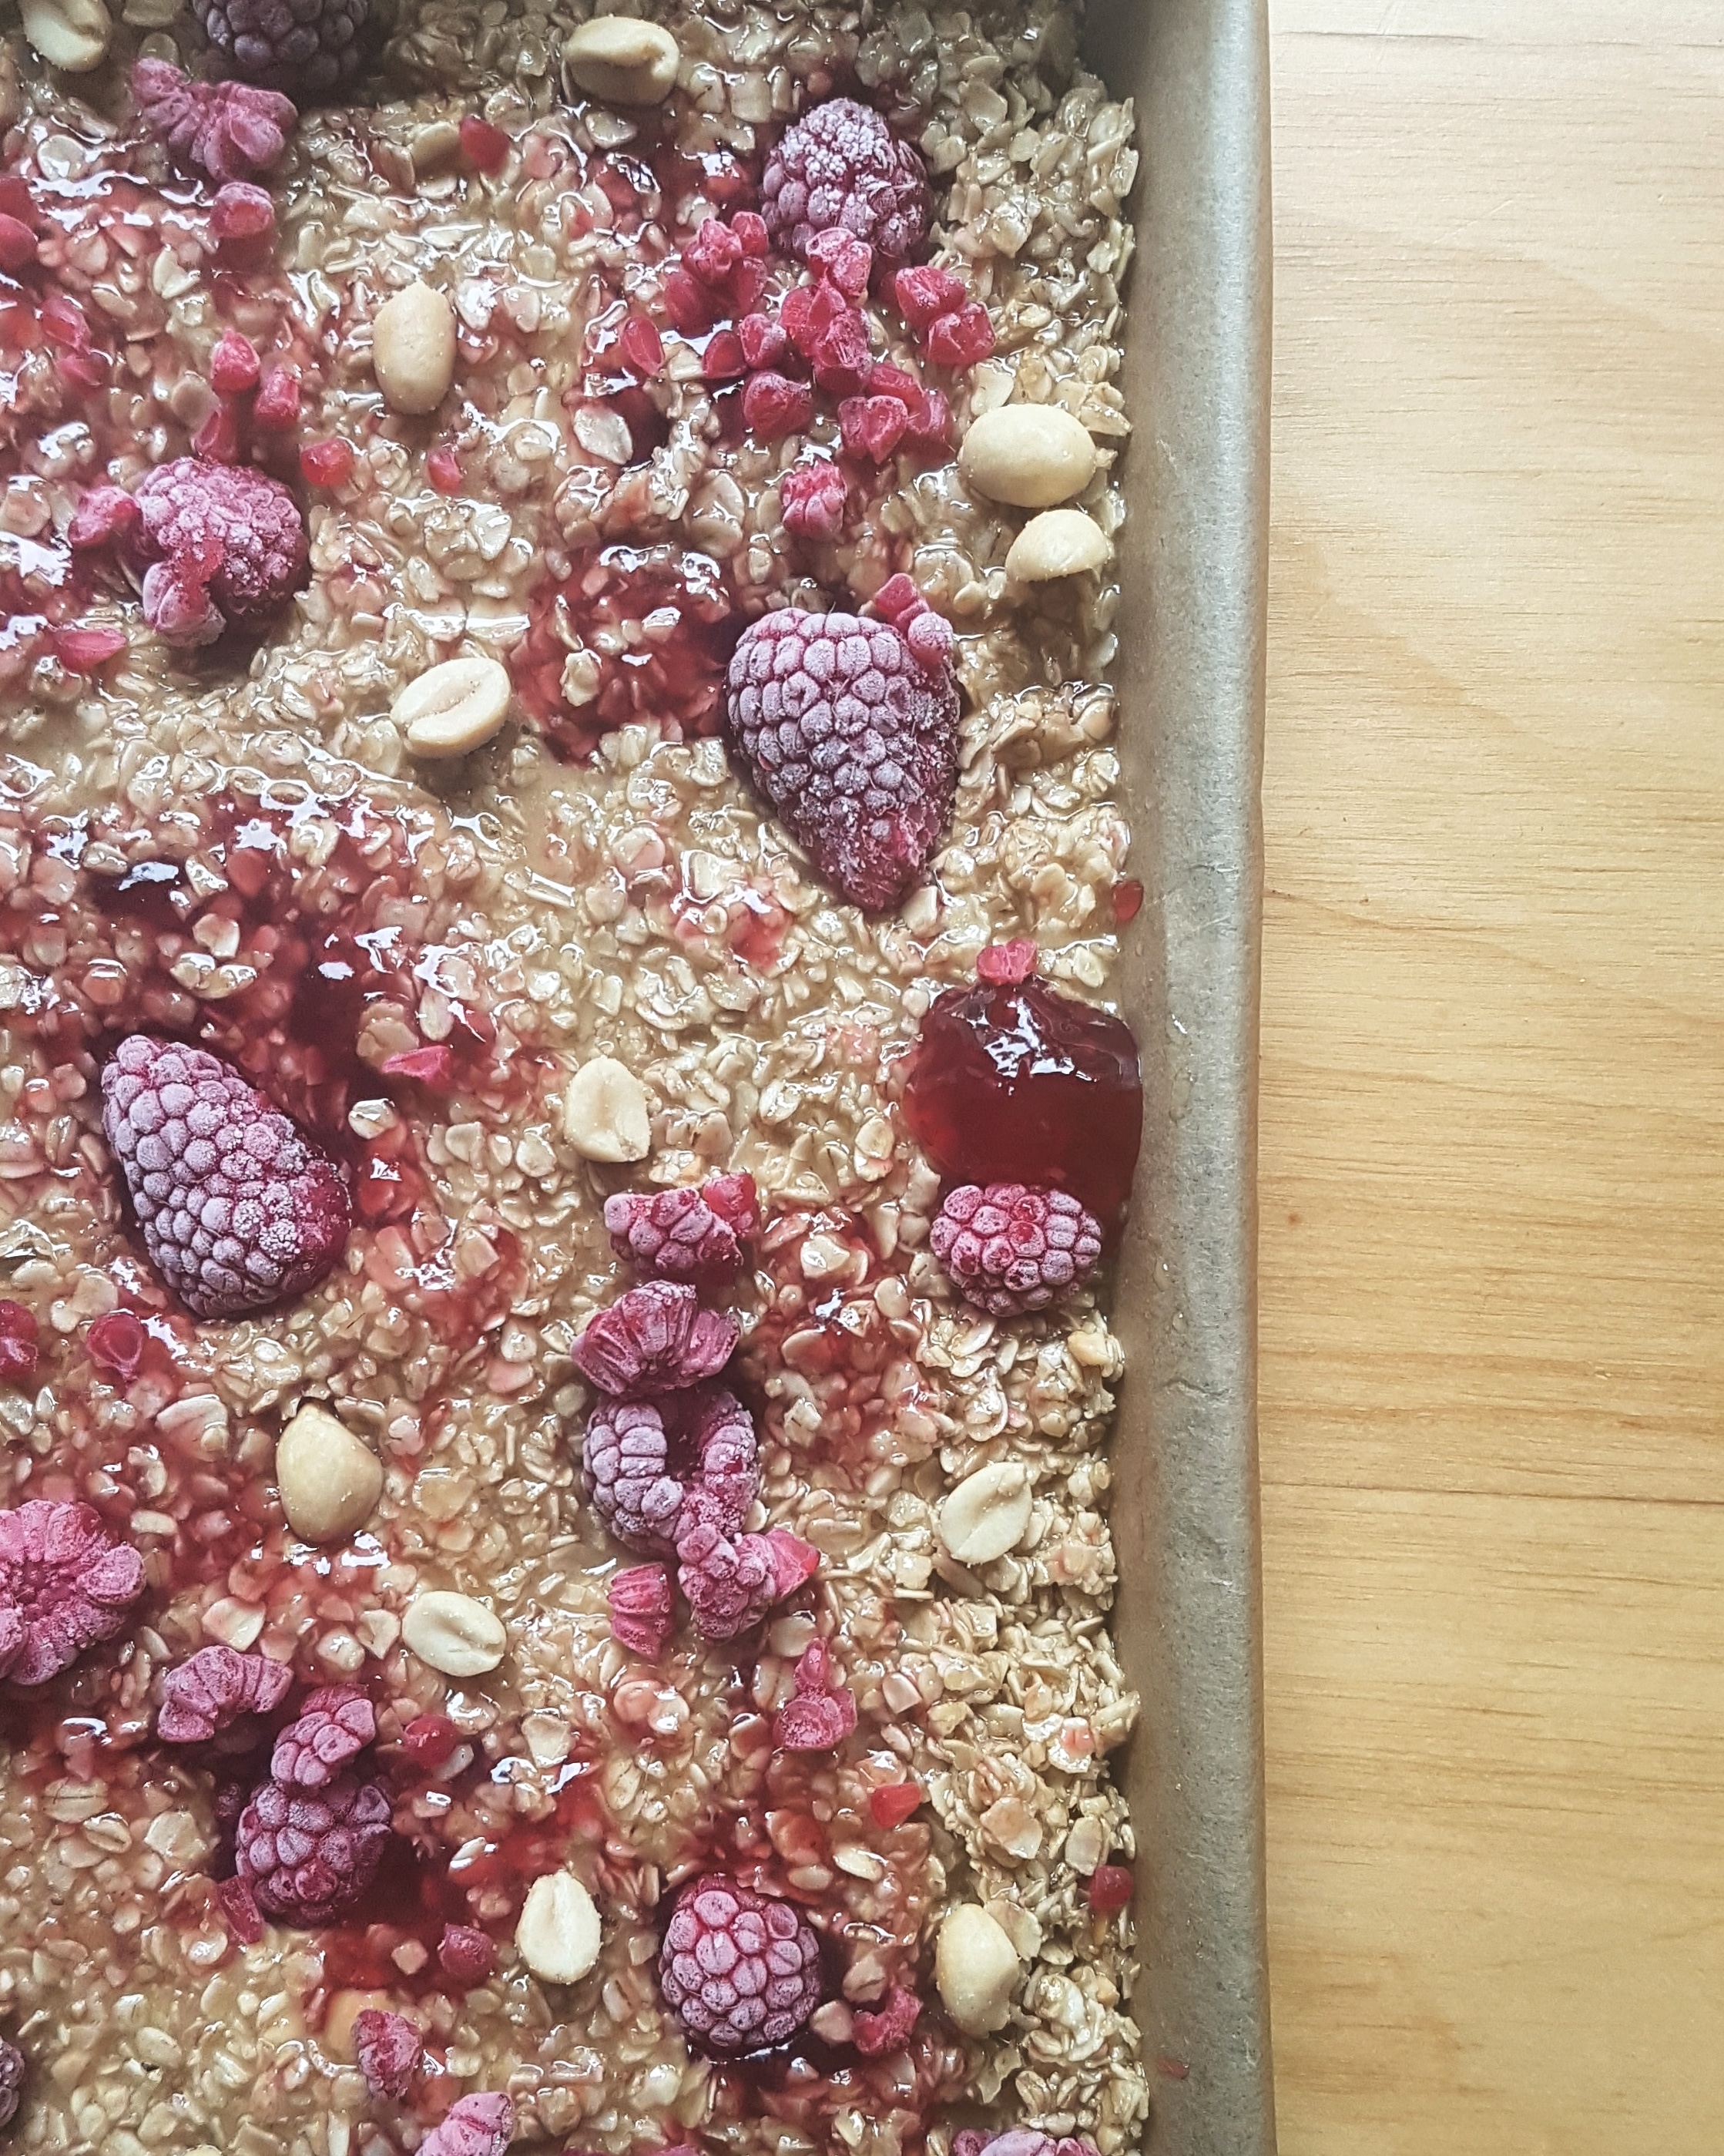
- Spread the mixture out and flatten lightly before dolloping the jam on top in blobs. Press in the raspberries and for extra crunch you can add some salted peanuts as well!
- Press everything down firmly and then pop into the oven for 20-25 minutes until bubbly with beautiful golden edges.
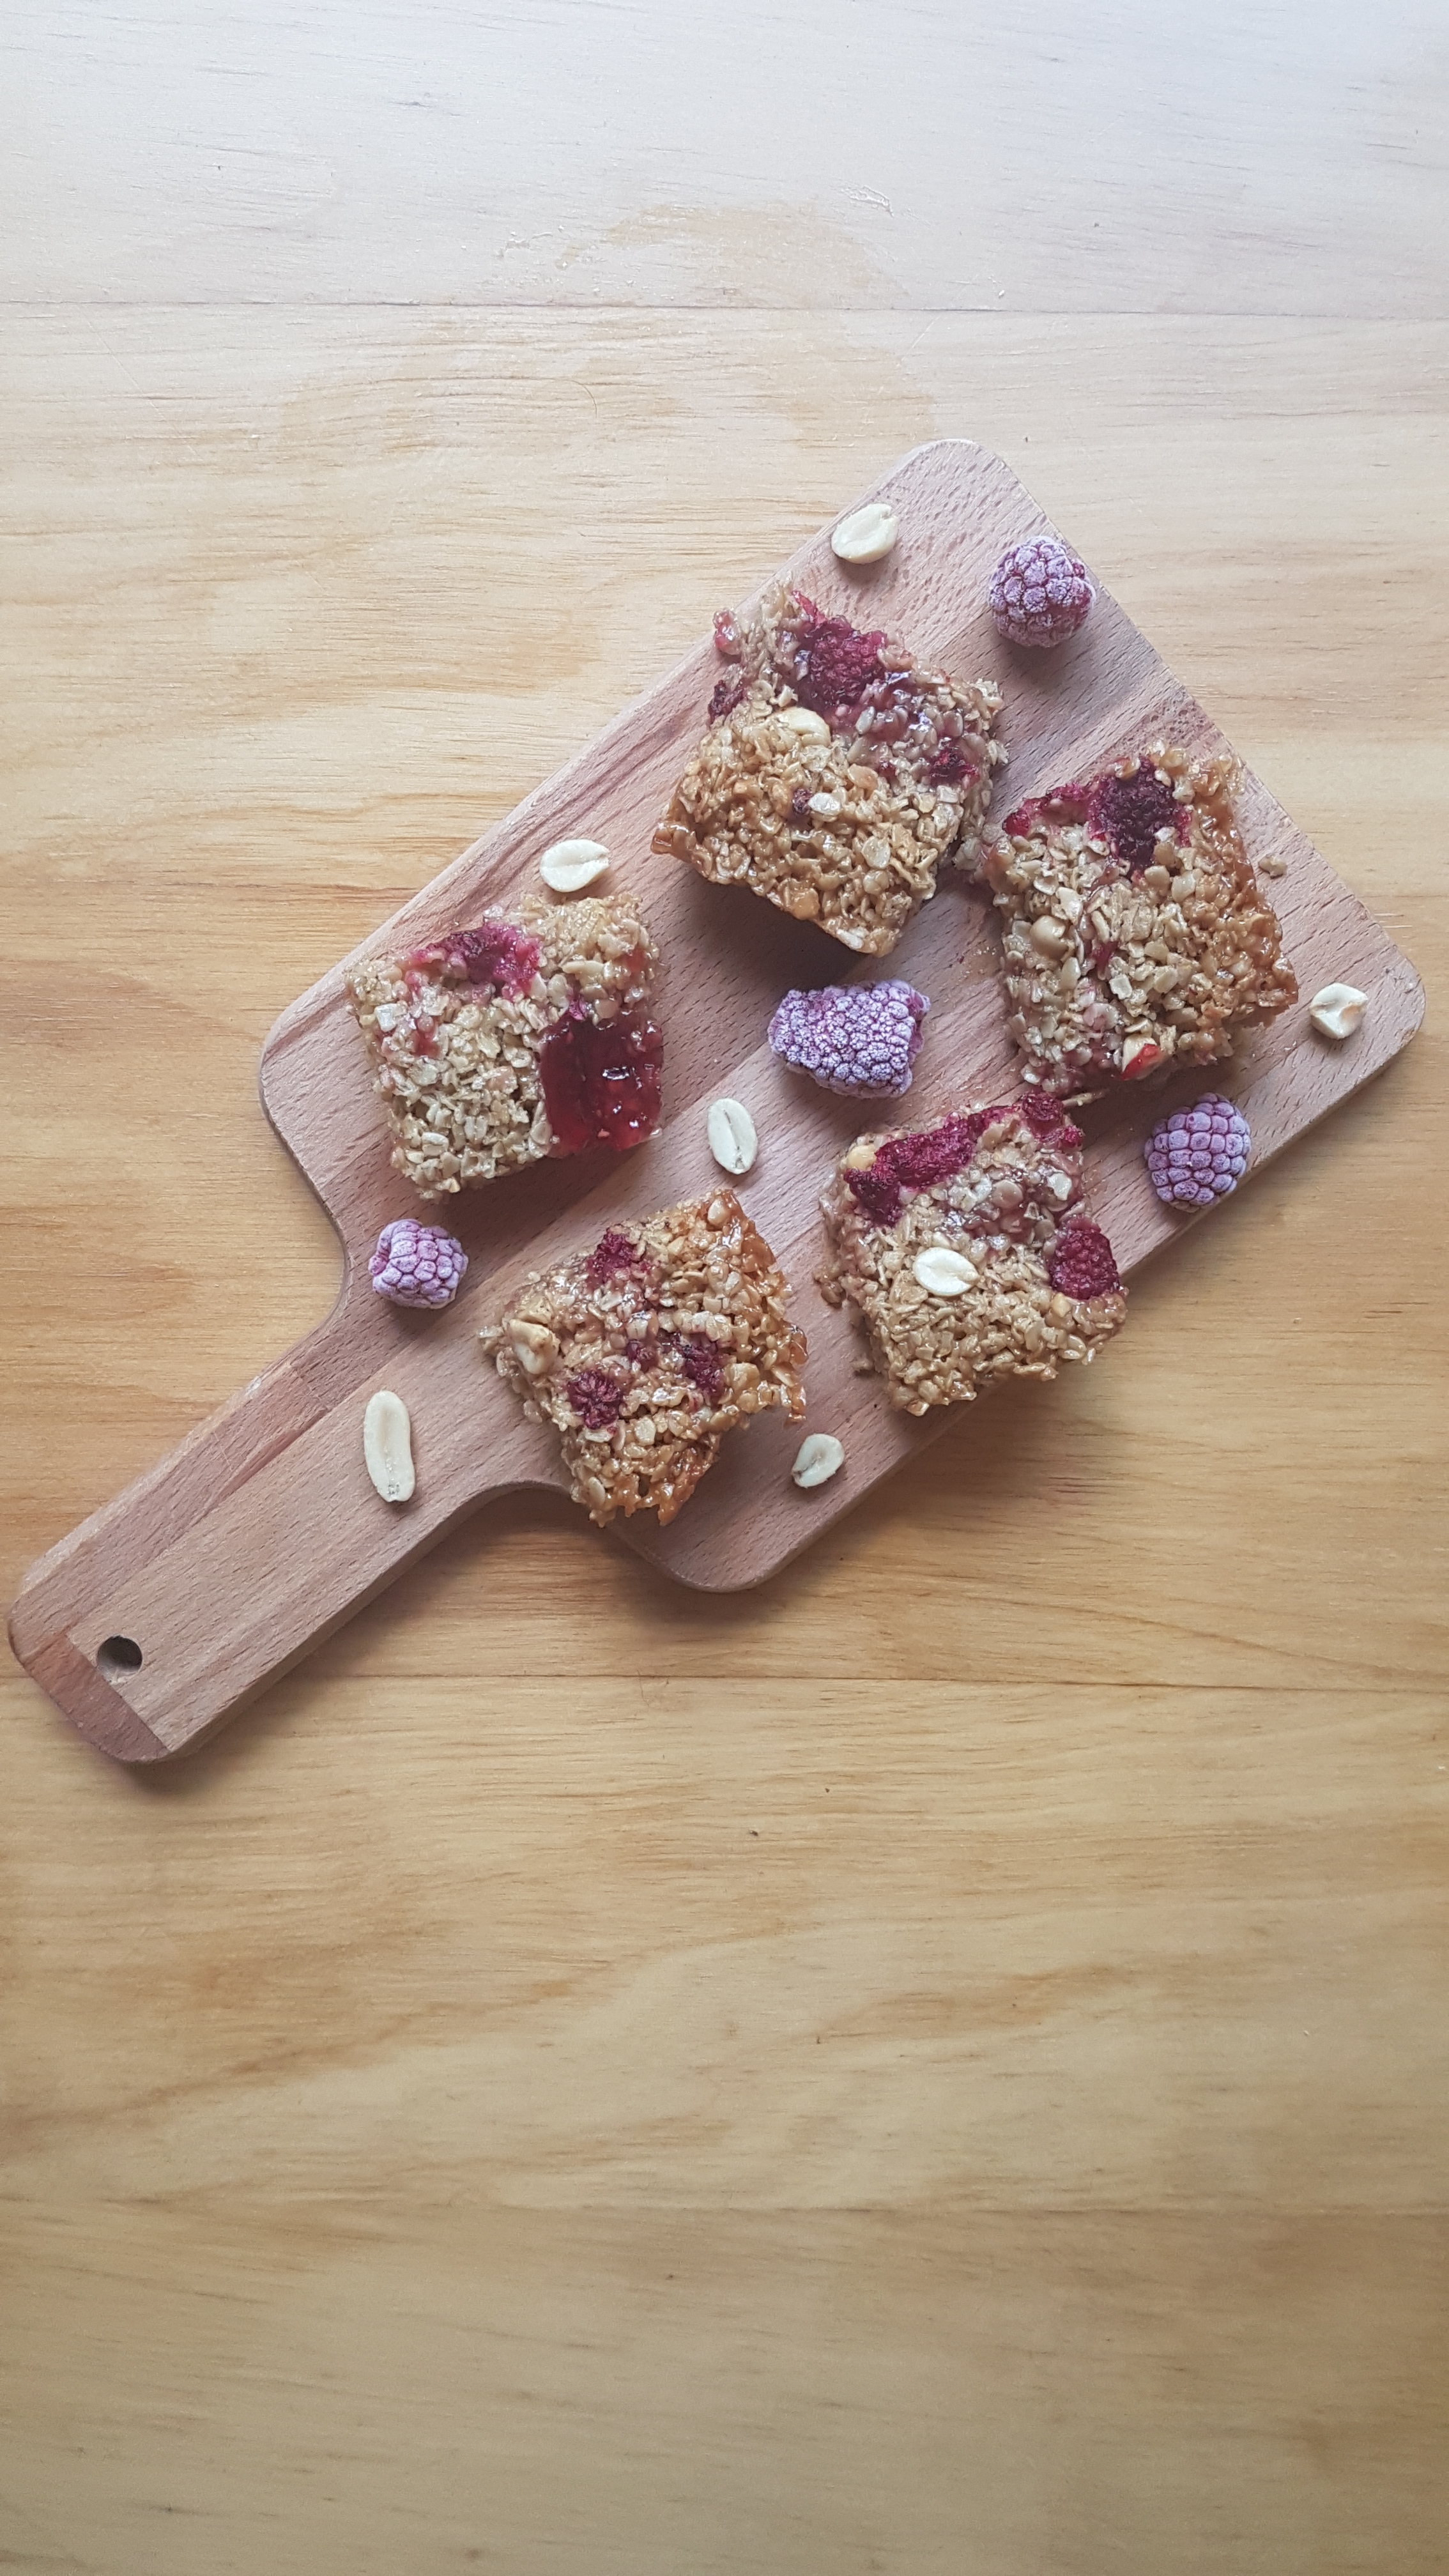
- Leave to cool in the tin and chill before slicing into squares. Enjoy...


